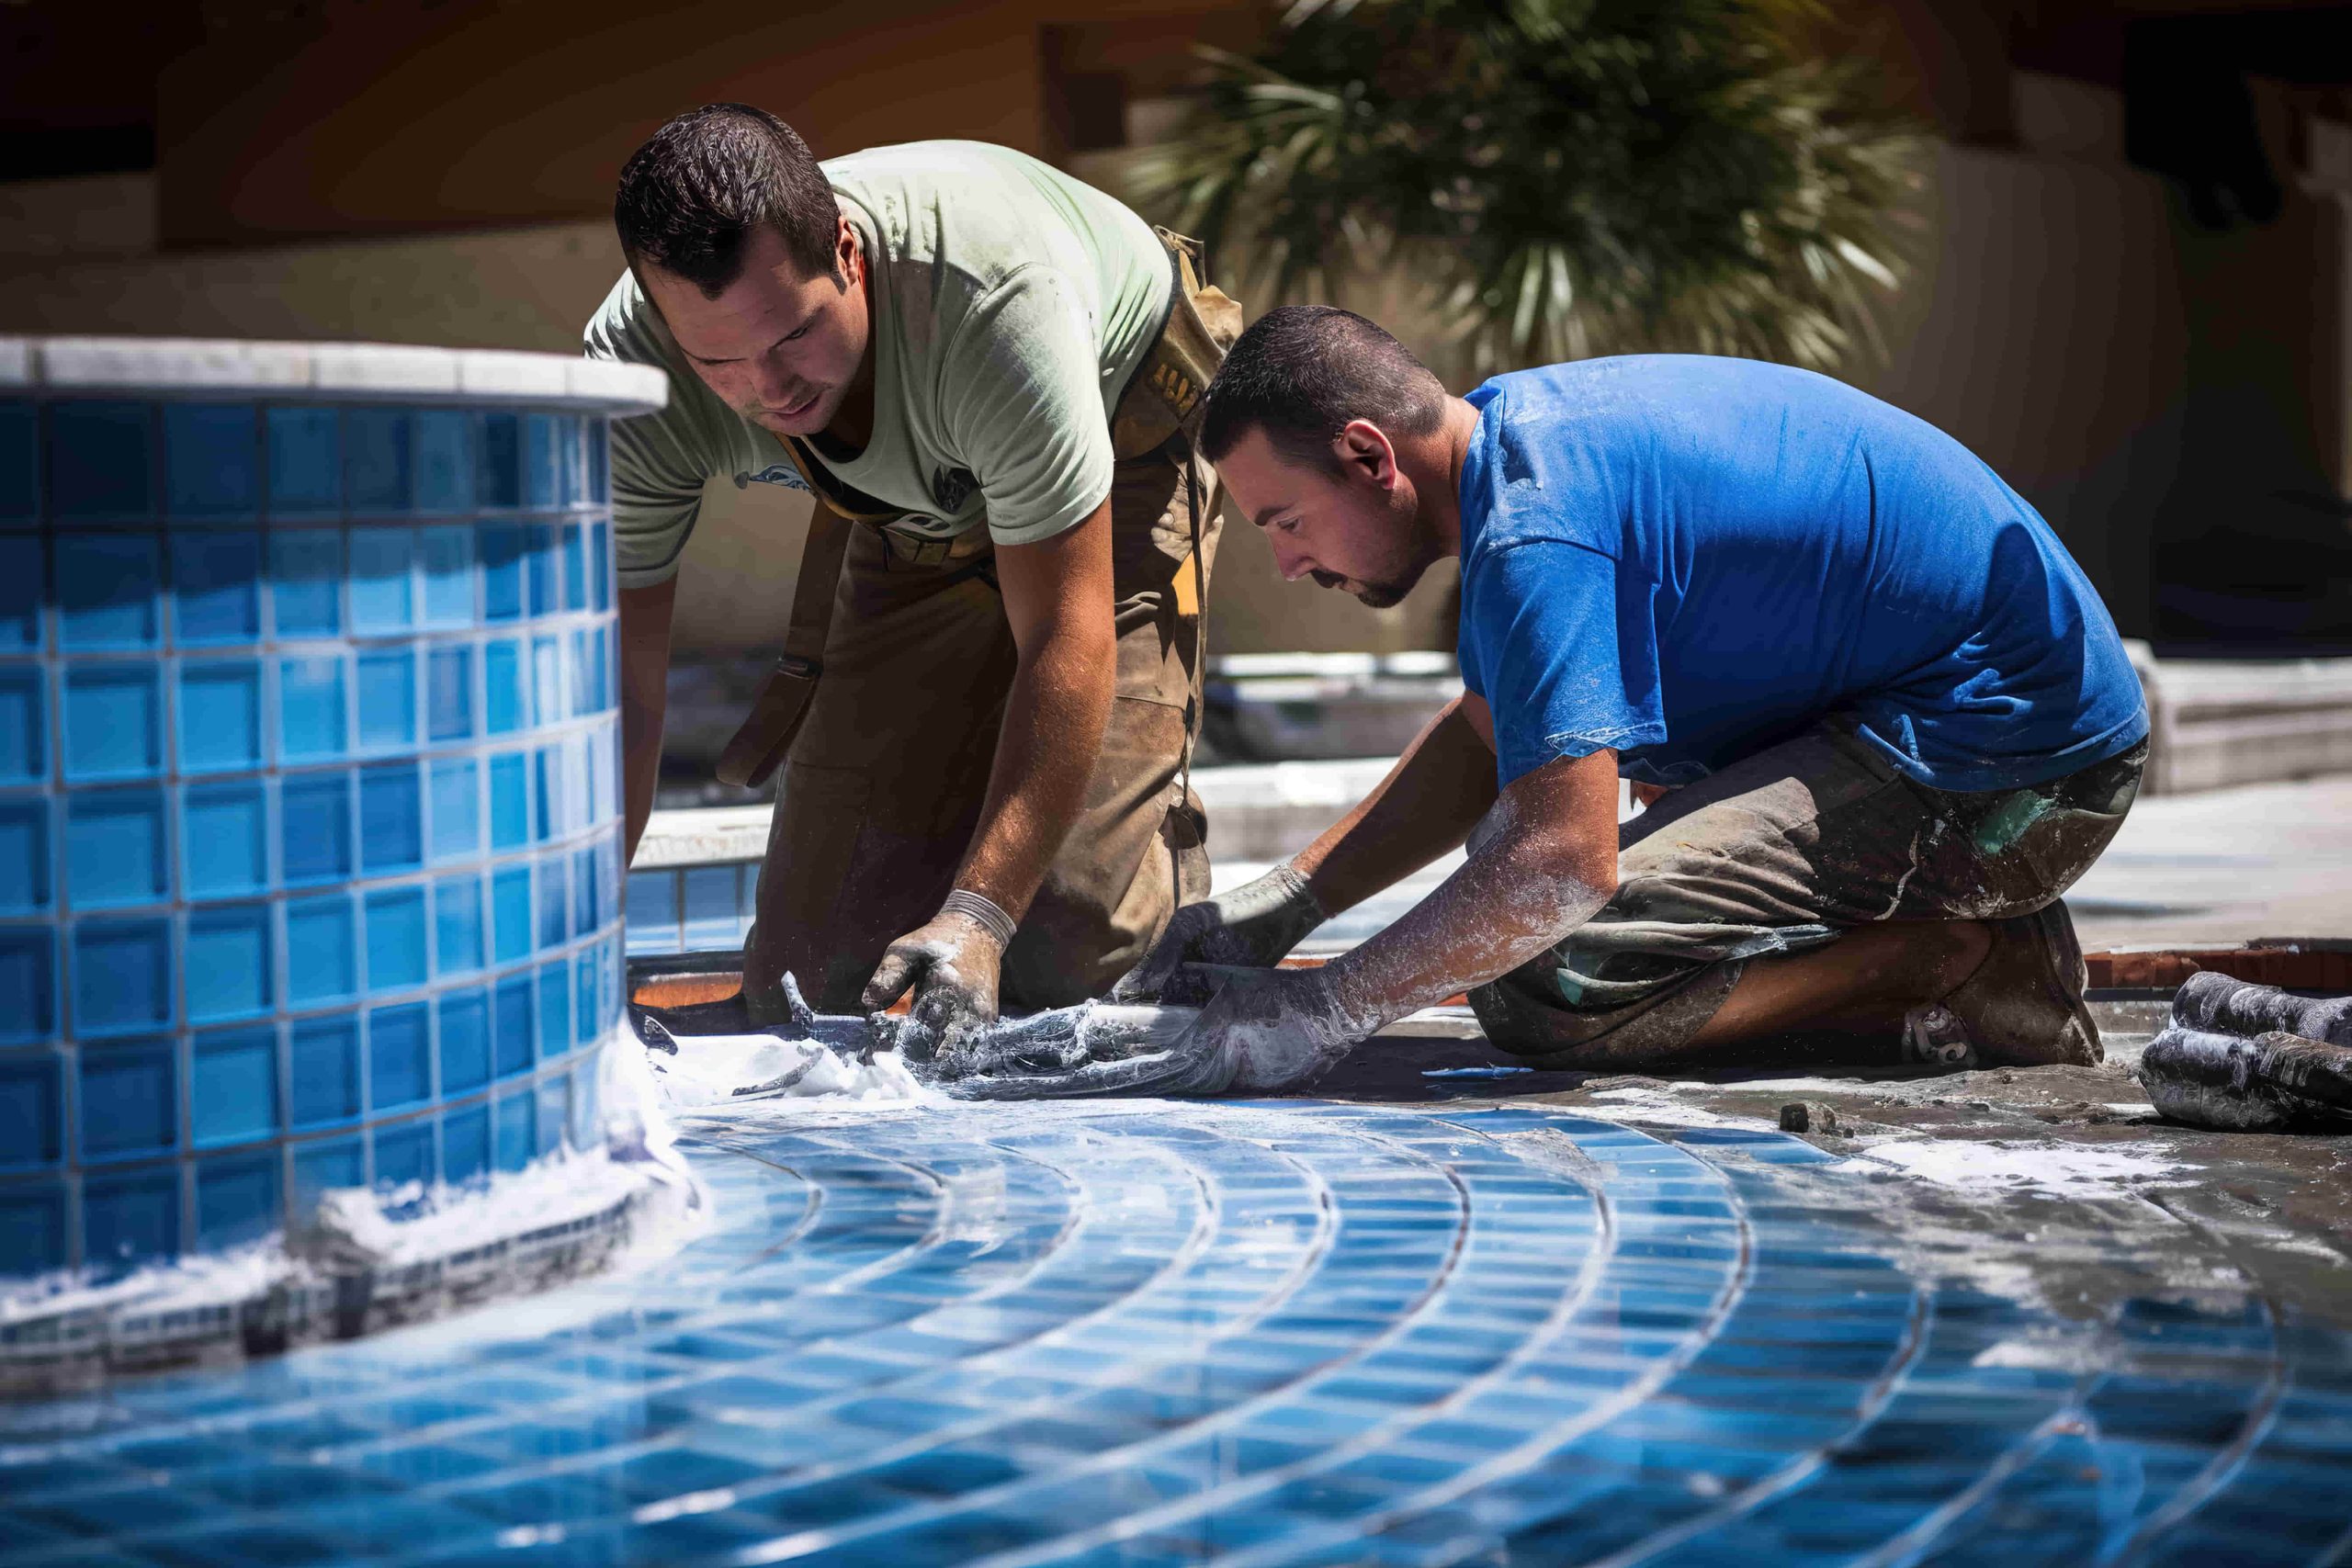
Are you looking to enhance the aesthetic appeal and functionality of your outdoor space or home interior with paving, tiles, and stones? Here, you can find expert tile installation tips tailored for Melbourne’s landscaping and home renovation projects. Whether aiming to create a visually stunning patio or a captivating garden path, our comprehensive guide provides detailed precision, strategic planning, and advanced techniques necessary to achieve flawless results that will endure time.
1. Choosing the Right Materials for Your Project
Before diving into the installation, planning is key to success. The first step is selecting the right type of paving, tiles, or natural stones in Melbourne based on your project’s purpose.
- For Driveways: Opt for durable materials such as tiles or natural stone pavers that can withstand heavy loads.
- For Patios and Pathways: Ceramic tiles, natural stone, or bluestone pavers offer both style and durability.
- For Pool Areas: Porous and slip-resistant stones like travertine or granite are ideal for wet areas.
When choosing your materials, consider factors like climate, intended use, and maintenance requirements. For example, natural stones may offer a rustic look, but they might require more upkeep than other pavers in regions with heavy rain.
2. Preparing the Site
A solid foundation is critical to the longevity of your paving or tiles installation in Melbourne. Poor site preparation often leads to sinking or cracking. Follow these steps to ensure your base is stable:
- Clear the Area: Remove any grass, plants, or debris from the site.
- Excavate to the Correct Depth: Depending on your material, dig to a depth of around 100-150mm for pavers, allowing for layers of base and sand.
- Install a Sub-Base: A 75-100mm layer of compacted gravel or crushed rock forms the foundation. This sub-base is essential to provide drainage and prevent shifting.
- Level the Surface: After compacting the sub-base, use a levelling tool to create a flat surface for the following layers.
3. Laying the Pavers, Tiles, or Stones
Once your foundation is ready, it’s time to start laying the paving, tiles, or stones. Precision during this stage is crucial for a seamless look.
- Dry Lay First: Before applying adhesive or mortar, dry-lay your pavers or tiles to check their fit and alignment. This step helps in avoiding awkward gaps or misalignments.
- Start from a Corner or Edge: Lay your materials from a corner or a straight edge to ensure symmetry.
- Maintain Consistent Spacing: Use spacers or guides to maintain even gaps between tiles or pavers. This spacing is essential for both aesthetic appeal and structural integrity.
- Cut with Precision: If you need to cut pavers or tiles, use a diamond blade or a wet saw for clean, precise cuts.
4. Grouting and Jointing: Sealing the Gaps
For tiles, grouting is the final step that seals the joints and prevents moisture from seeping beneath the surface. For pavers, jointing sand or mortar fills the gaps between each piece.
- For Tiles: Apply grout with a rubber float, pushing it into the gaps. Wipe away excess grout with a damp sponge to prevent staining.
- For Pavers: Sweep polymeric sand or jointing sand into the gaps between pavers. Use a plate compactor to settle the sand and ensure all gaps are filled.
- Allow to Cure: Let the grout or jointing material cure fully before allowing traffic on the surface.
5. Consider Drainage: Avoid Water Damage
Poor drainage can lead to water pooling, which causes damage over time. During the installation, ensure the area has a slight slope (1-2%) to direct water away from structures and prevent flooding.
- Install Drainage Solutions: For larger projects, consider installing a drainage system beneath the paving to prevent water build-up.
- Use Permeable Pavers: In areas with heavy rainfall, permeable pavers allow water to seep through, reducing surface water.
6. Consider Drainage: Avoid Water Damage
Sealing your paving, tiles, or stones provides protection against the harsh Australian climate, including UV rays, rain, and frost. It also helps to preserve the colour and texture of natural materials.
- For Natural Stones: Seal the surface immediately after installation to prevent staining and erosion.
- For Concrete Pavers: Apply a high-quality sealer every 2-3 years to maintain their appearance and durability.
- For Tiles: Use a sealant that’s compatible with your grout and tile type, especially in outdoor settings.
7. Regular Maintenance for Longevity
Once installed, ongoing maintenance will ensure your paving, tiles, or stones look great for years to come. Here are some tips to keep your surfaces in top condition:
- Sweep Regularly: Remove dirt, leaves, and debris to prevent staining.
- Clean with Appropriate Solutions: Use a mild detergent for tiles and pavers. For natural stone, opt for a pH-neutral cleaner.
- Reseal Periodically: To maintain protection, reseal your paving or tiles according to the manufacturer’s recommendations.
- Repair Damage Promptly: If you notice any cracks or loose tiles, repair them immediately to prevent further damage.
Expertly installing paving, tiles, or stones can dramatically enhance the beauty and functionality of your outdoor space. By following these installation tips, you’ll not only create a visually appealing surface but also ensure it stands the test of time. Whether it’s a driveway, patio, or garden path, proper planning, using the right tools, and ongoing maintenance will lead to a project you can be proud of.
For homeowners and professionals alike, understanding the nuances of material selection, site preparation, and installation techniques is crucial. If in doubt, always consult us to achieve the best results for your paving and tiling projects.


